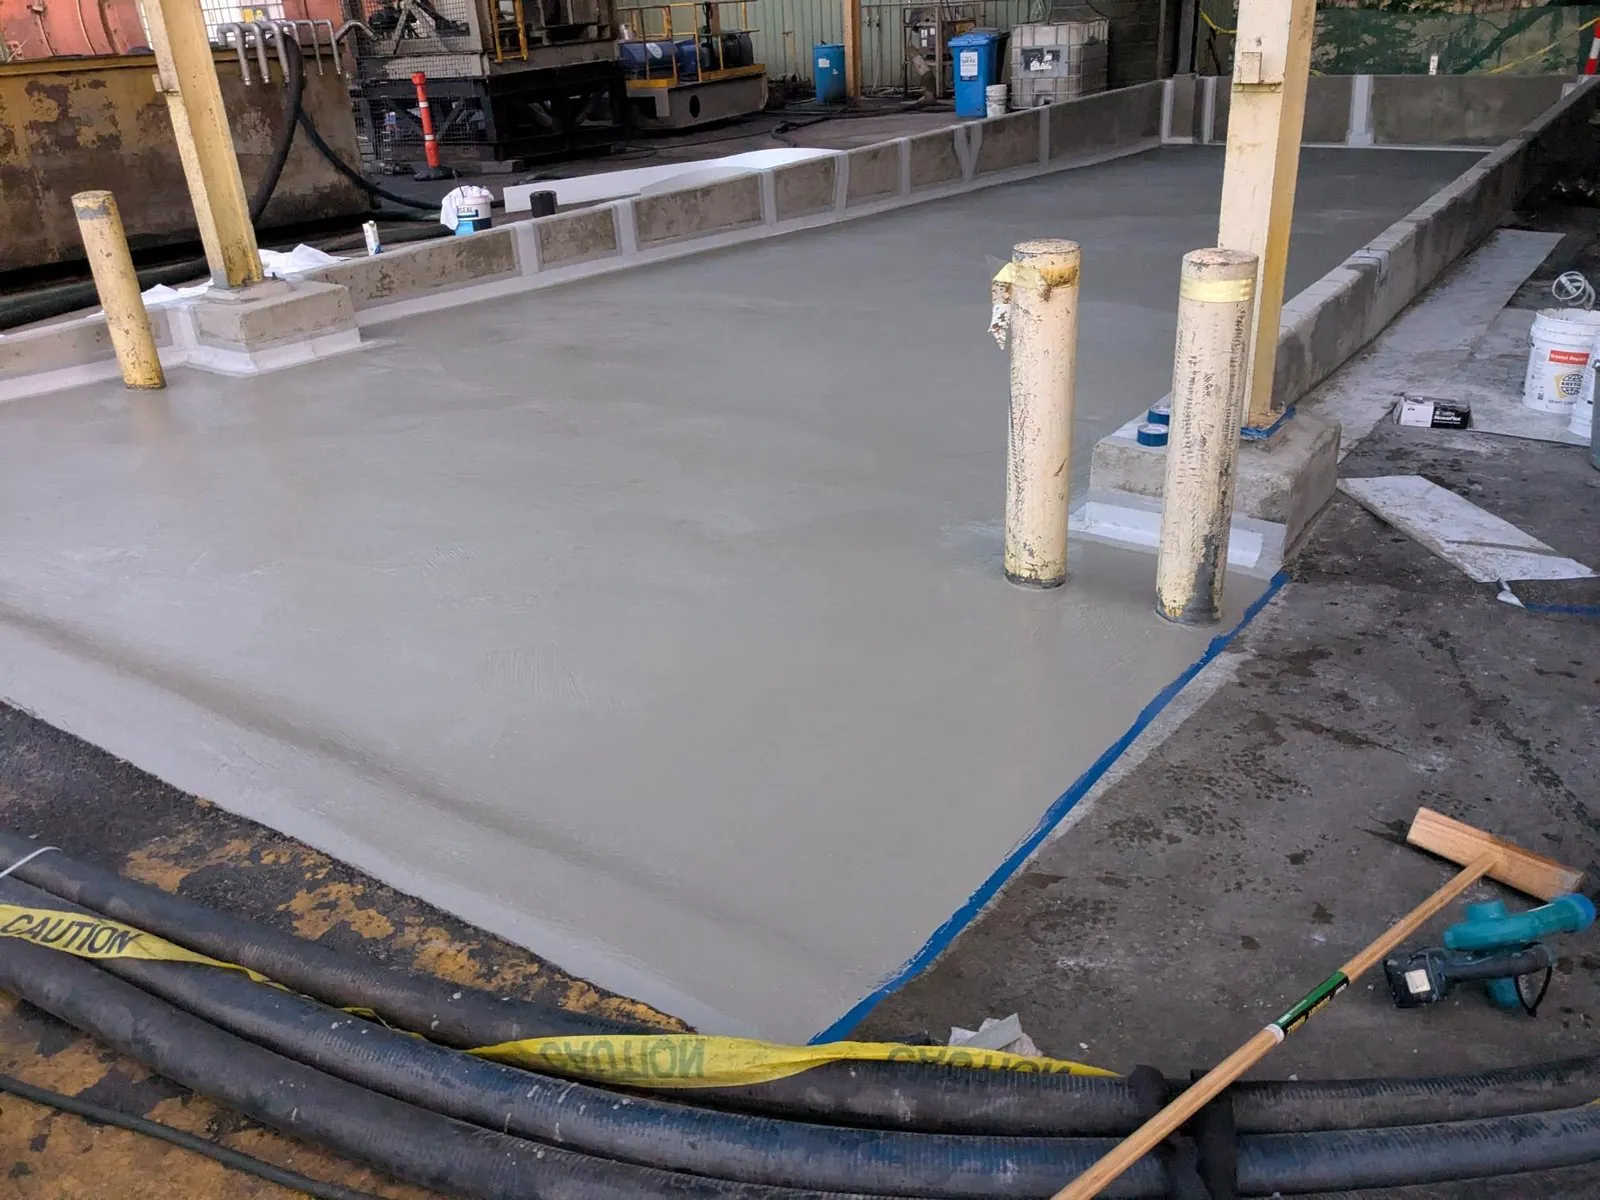
A shower takes more direct water than any other part of a house, every day, for the life of the building. The tiles and grout are not what keeps that water out of the structure. The membrane and its detailing underneath do that, and if any part of it is wrong, water gets behind the tiles, into the wall framing or the slab, and shows up somewhere else.
This guide covers how the system works, the installation sequence, what the NCC and AS 3740 require, where installations usually go wrong, and what to do when an existing shower is leaking.
Tiles and grout are not waterproofing
Grout is cementitious and porous. Tile joints, corners, sealant lines and penetrations all pass water. That is expected. The tiled surface is the wearing layer; the membrane beneath it is the barrier.
Two consequences follow. First, a shower with a failed membrane will not be fixed by regrouting or re-siliconing, no matter how neatly it is done. Second, a membrane is only as good as its weakest junction. Corners, the floor waste, the threshold and every tap penetration have to be treated as part of one continuous system, not as finishing items.
What the rules require
Shower waterproofing in Australia is governed by the National Construction Code. For houses, the NCC Volume Two Housing Provisions require the walls of a shower area to be waterproofed to not less than 1800 mm above the finished floor, and the Deemed-to-Satisfy pathway references AS 3740:2021 Waterproofing of domestic wet areas. Requirements vary with building class, floor construction (concrete versus framed and sheeted) and the shower configuration, so the project documentation, the standard and the membrane manufacturer's data sheet apply, not a generic internet diagram.
In Western Australia this is not academic. Building and Energy's inspection audits of new housing have repeatedly found the same wet area defects: missing puddle flanges, missing bond breakers, membrane applied too thin, missing waterstops at shower thresholds, and poor flashing. These are the items an inspector looks for, and they are the items that leak.
The installation sequence

1. Inspect before you start
Know what you are waterproofing. On a new build that means the substrate type, the shower layout, the waste position, all penetrations, sheet joints and transitions. On a renovation it also means the condition of what is there. Existing moisture damage, movement or a drummy screed has to be dealt with first. Waterproofing over an unresolved problem hides it for a while and then it comes back.
2. Prepare the substrate
The membrane has to bond to something sound. The surface should be stable, clean, dry to the manufacturer's limits and free of dust, laitance, release agents and paint. Cracks, gaps between sheets and unsuitable joints need attention before any primer goes on. Preparation differs between render, concrete, compressed fibre cement and villaboard, but the principle does not: a good membrane on a bad substrate is a bad membrane.
3. Get the falls right
Waterproofing and drainage are one system. The shower floor should fall to the waste, not pond against walls or corners. The NCC now requires wet area floors in houses to be graded to the floor waste where one is installed. Water that sits against a junction stresses that junction indefinitely.
4. Fit the puddle flange and detail the waste
The floor waste is the most critical junction in the shower. A puddle flange (leak control flange) is fitted to the drain and the membrane is dressed into it so that water reaching the membrane drains away rather than pooling under the tiles. Omitting the flange, or terminating the membrane short of it, is one of the most common defects Building and Energy reports and one of the most common reasons a shower leaks into the room below.
5. Install the waterstop at the threshold
Where the shower area meets the rest of the bathroom, a waterstop is required to stop water tracking under the tiles beyond the shower. This is usually an angle set into the screed at the shower screen line or a hob, and the membrane must be continuous over it. It is routinely left out on framed floors and is a specific AS 3740 requirement.
6. Detail the junctions
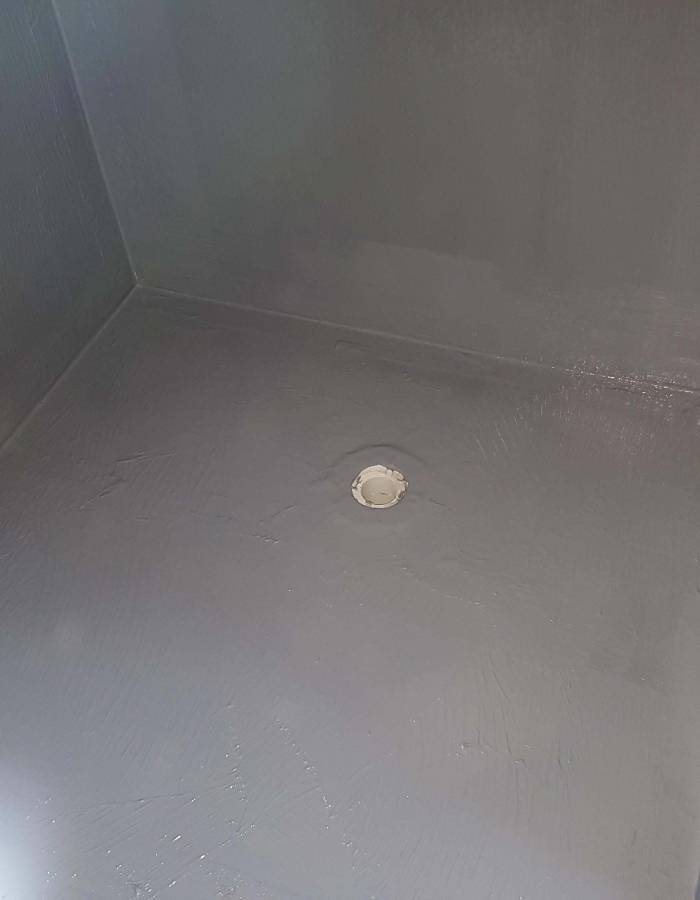
The wall-to-floor junction and the vertical internal corners are where building movement concentrates. AS 3740 requires a bond breaker at these junctions so the membrane can span the joint rather than being locked to both faces and tearing. Depending on the system this is a compatible sealant bead, a bond breaker tape or a reinforcing bandage. Membrane thrown straight into a corner without a bond breaker will crack at the first seasonal movement.
7. Detail the penetrations
Every mixer, tap body, spout and pipe through the membrane is a hole in it. Each one is sealed and dressed as part of the membrane installation, not filled with silicone by the plumber afterwards. Penetrations should be in place and fixed before the membrane goes on.
8. Prime where the system requires it
Most liquid systems specify a primer for the substrate they are going on. Use the primer that belongs to the membrane system. Substituting a general purpose primer or mixing brands voids the manufacturer's warranty and, more importantly, the adhesion.
9. Apply the membrane
With preparation and detailing done, the membrane goes on to the walls to at least 1800 mm, across the floor and into the flange, continuously. Liquid applied membranes are the norm in showers because they follow every corner and penetration. Sheet membranes have their place, particularly over framed floors where anti-fracture or acoustic performance is wanted.
Two things matter more than anything else here: wet film thickness and continuity. Every product has a specified coverage rate and a minimum dry film thickness; membrane applied thin to stretch the drum is the single most common reason a liquid membrane fails. There is no universal rule about the number of coats. Many products need two or three; the single coat, high build Class III membrane Waterseal uses in most internal wet areas is applied once at the specified thickness. Follow the data sheet for the product in the tin.
10. Let it cure and protect it
Cure time depends on the product, temperature, humidity and thickness. Tiling before the membrane has cured can trap solvent or water and break the bond. Generic advice like "wait 24 hours" is meaningless across products. Once cured, the membrane still has to survive the other trades. Screws through the wall lining, dropped tools and late penetrations are all membrane failures waiting for the tiler to cover them.
11. Test before it is covered
A flood test is the standard way to prove a wet area floor before tiling: plug the waste, fill to the threshold, leave it for the specified period and check below and around. On suitable non-conductive membranes over a conductive substrate, high voltage electronic leak detection will pinpoint a breach without flooding. Either way, a defect found now costs a few hours. The same defect found after the bathroom is finished costs a bathroom.
12. Tile and finish
Tile adhesive must be compatible with the membrane. Grout fills the tile joints; a flexible sealant is used at the internal corners, the tile-to-tray or hob junction and other movement joints. Keep the layers straight in your mind: tiles are the finish, grout is a joint filler, sealant handles movement, and the membrane is the waterproofing.
How high to waterproof
For houses under the NCC Housing Provisions, shower walls are waterproofed to not less than 1800 mm above the finished floor. Beyond that the extent depends on the layout. An enclosed shower, a walk-in shower with no screen, a bath and shower combination and a full wet room each need different treatment of the floor and the walls outside the shower. Assess the bathroom as a wet area, not as a shower in isolation.
Where showers go wrong
Most leaking showers are not the result of one dramatic hole. They come from small omissions: no puddle flange, no bond breaker, no waterstop, membrane too thin, penetrations left to the plumber, tiling before cure, a screw through the membrane, or an incompatible primer. Any one of these is enough.
The other common mistake is treating silicone and grout as a repair for a failed membrane. Surface maintenance is worthwhile, but it does not rebuild what is underneath.
Can you waterproof over existing tiles?
There are surface sealing products marketed for this. They are not equivalent to replacing a failed undertile membrane, and applying one before finding the source of the leak is guesswork. The first question with any leaking shower is where the water is actually coming from. It may be the membrane, but it may equally be the waste, a plumbing connection, a penetration, a failed sealant joint or an adjacent wet area. Treat the symptom without finding the source and the repair will be repeated.
Signs the waterproofing has failed
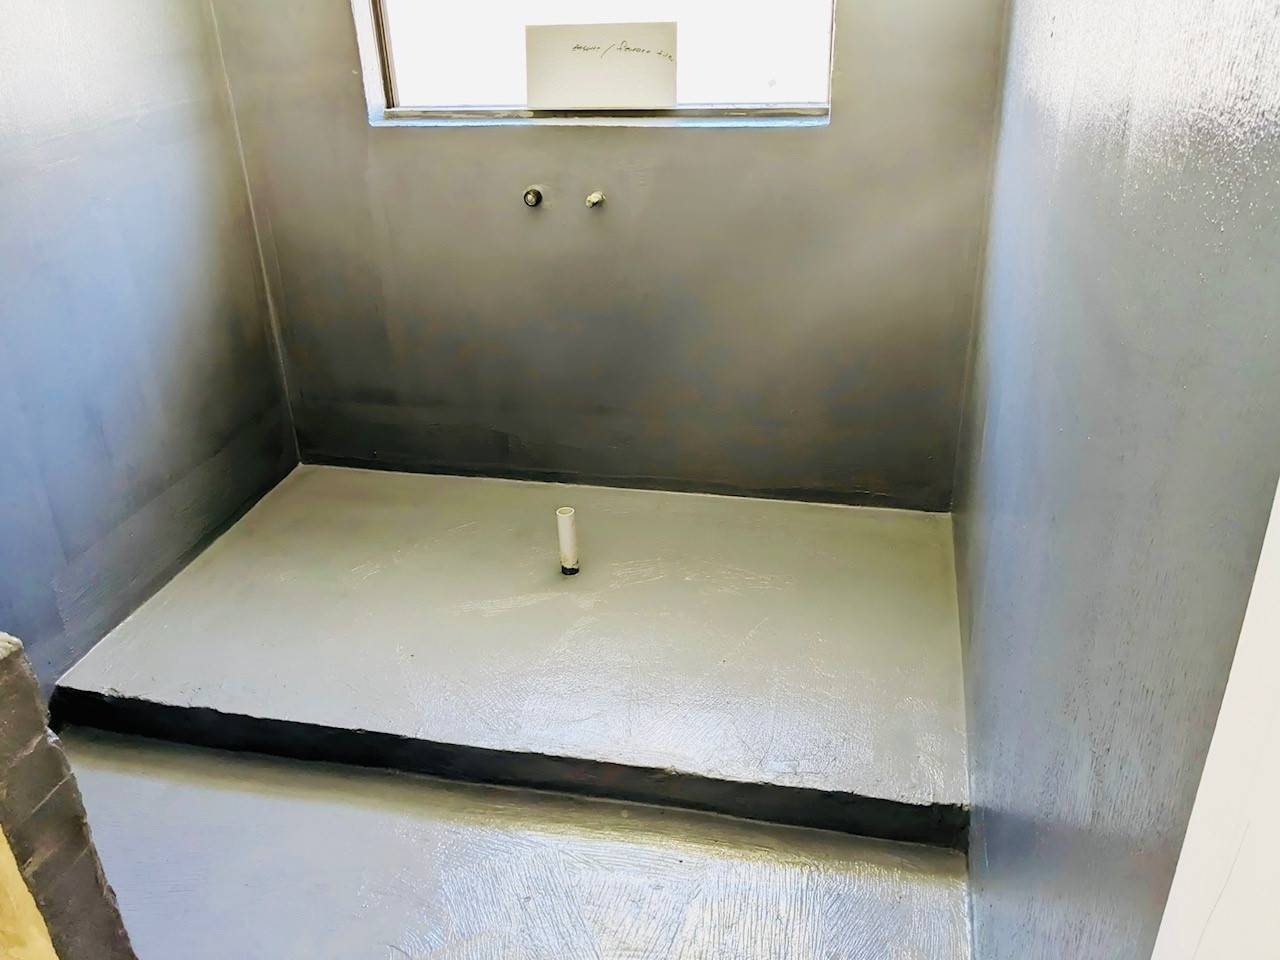
Persistent damp at the base of adjoining walls, bubbling paint, drummy or loose tiles, deteriorating skirting, musty smell, mould that keeps returning, or staining on the ceiling below. None of these proves the membrane has failed; water travels within cavities and slabs, and the point where damage appears is often not the point of entry. If the source is not obvious, that is the point at which a proper leak investigation pays for itself.
Can a leaking shower be fixed without removing the tiles?
Sometimes. A localised issue at a waste, a penetration or a sealant joint can often be addressed in place. If the membrane itself has failed, or was never installed correctly, surface work will improve the appearance and briefly slow the water without correcting anything. The honest answer depends on the diagnosis, which is why the assessment comes before the repair method.
Should you do it yourself?
The DIY version looks simple: prime, tape the corners, roll on two coats. The compliant version involves falls, waterstops, flanges, bond breakers, film thickness, compatible products and cure times, and the membrane is hidden under tiles by the time any of it shows. For a new build, a substantial renovation or an existing leak, the cost of professional installation is small against the cost of opening a finished bathroom.
Shower waterproofing in Perth
Waterseal has installed wet area waterproofing across Perth since 1996 and carries out remedial waterproofing and leak investigation when showers fail. Depending on the construction we use single coat liquid Class III membranes, undertile Butynol and anti-fracture and acoustic sheet membranes. The right system is the one that suits the substrate, the movement in the building and the finish, not the one with the loudest marketing.
For a new bathroom, a renovation or a shower that is leaking and nobody can say why, see our wet area waterproofing, leak detection and remedial waterproofing pages, or contact Waterseal.
Frequently asked questions
Do you waterproof a shower before tiling? Yes. The membrane goes on and cures before the tiles, and the tiles are not the waterproofing.
How high do shower walls need to be waterproofed? Not less than 1800 mm above the finished floor for houses under the NCC Housing Provisions.
How many coats of waterproofing does a shower need? Whatever the product data sheet specifies to reach the required film thickness. Some need two or three coats; some high build membranes are single coat. Thickness matters, not the coat count.
Can I tile straight over the membrane? Once it has cured and with an adhesive the membrane manufacturer lists as compatible, yes.
Is grout waterproof? No. Grout is a porous joint filler.
Why does my shower still leak after regrouting? Because the leak was never in the grout. Look at the membrane, the waste, the penetrations and the plumbing.
What should I do if my shower is already leaking? Do not assume the wet patch is the source. Get the pathway identified before paying for a repair.